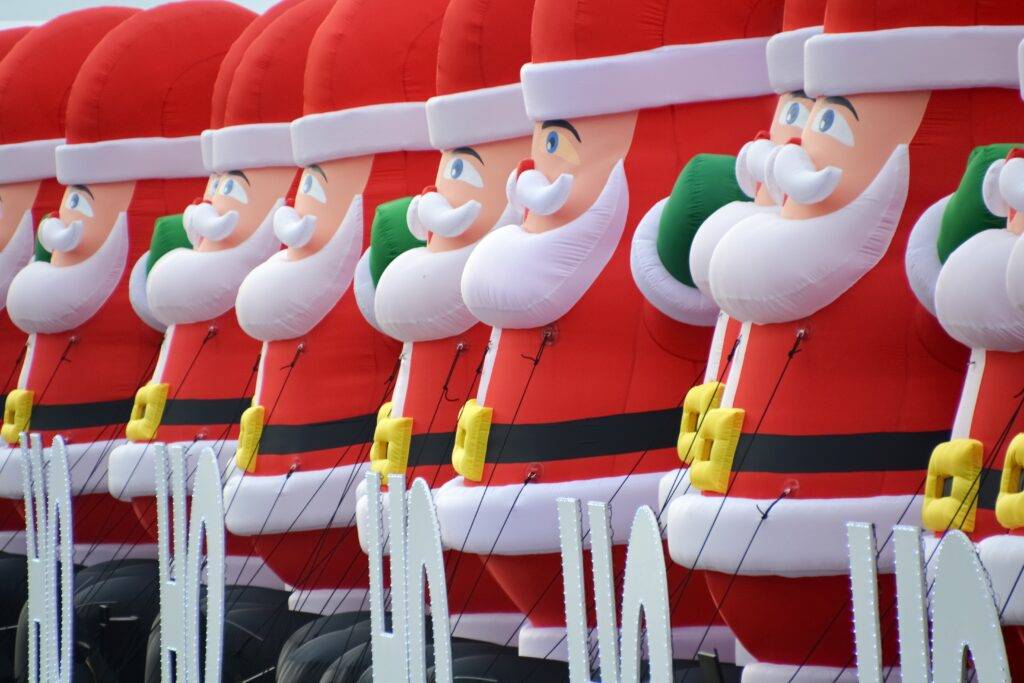
In recent years, outdoor Christmas inflatables have become increasingly popular. It is truly a magical site to see a giant inflatable snow globe lit at night with snow swirling around Santa. This Xmas decoration style is an excellent choice if you want something fun and festive. They are easy to set up and only take minutes to inflate. In addition, Christmas inflatables add a unique look to your yard that grab the attention of every person passing by.
This article has assembled a list of tips and items you need to know before placing these magnificent decorations outdoors. As Christmas inflatables are the next big thing, this is what you need to know about outdoor Christmas inflatables.
Christmas Inflatables General Facts
Christmas inflatables are waterproof, so you don’t need to worry about them in wet weather conditions. All Xmas inflatable decorations have a built-in fan that inflates them. The fan requires power from a standard power outlet for it to self-inflate. Keep that in mind when looking for a place to set it up. A lot of inflatable decorations can now light up as well. This makes these decorations perfect for nighttime viewing. Your fun, brightly coloured Christmas decorations will have a great contrast against the dark evening sky. Christmas inflatables can last for years, so you’ll get your money’s worth if you take care of them.
Christmas Inflatables Setup
Size of the Decoration
There are many different-sized Christmas inflatables, and as such, it’s important to select one that will best suit your environment. If you have a large tree in your yard for example, and that’s the only place your Xmas inflatable can go, you wouldn’t want a huge one that will interfere with the branches. So make sure that the size of your inflatable is appropriate for your yard.
Ideal Location for Inflatable
You’ll need to find an excellent spot for your new decoration. It would be best if you kept some things in mind so that your Christmas inflatable doesn’t get damaged. First, ensure your inflatable will not interfere with any shrubbery or obstacles. These items could cause unwanted damage to your inflatable by poking holes in it. The end result is a flat Christmas inflatable. You should also check to be sure that there is an electrical outlet nearby. Nearly all inflatables need to be plugged in and are not battery operated. The power outlet doesn’t need to be right next to your Christmas inflatable, as an extension cord will resolve any distance issues.

The most important location consideration is to make sure that your Christmas inflatable can be seen by people passing by. That’s the whole point of placing out a Christmas inflatable. So avoid putting your inflatable behind your shed or any other large object.
Just Before Inflating
Remove the Christmas inflatable from the box and discard any factory packaging. Please do not throw away the container/box though as it’s great to use for storage when you put your inflatable away for the season.
Spread the inflatable on the ground and ensure that the environment is clear of anything sharp, like branches, that could pop your inflatable. Next, locate any ground tethers or stakes meant to secure the decoration. You may want to replace the included metal pegs with tent pegs, especially if your area is known to receive windier conditions. Put the pegs into the ground, through the loops attached to your inflatable. Once completed, only then, plug in your Christmas inflatable. This will ensure it will not move or blow away while you inflate it.
Once the decoration is raised, the wind will push against it. It’s easier to stake it to the ground before the wind becomes a factor. Look at the instructions to ensure that you’ve done everything correctly and that the decoration is facing the right way. You can always adjust the peg placement one at a time after it is inflated if required.
Three, Two, One…INFLATION
Depending on the size of your decoration, it can take mere seconds to one or two minutes for the entire blowup to awaken. Just plug in the inflatable and watch it grow! The built-in fan will turn on and start to fill up your Christmas inflatable.
There’s a problem if your inflatable is not getting air once it’s plugged in. Check to confirm that nothing is blocking the fan from getting air. This can be debris or any other obstruction. Check for holes where air might be escaping as well. Look for a puncture or a zipper that is not zipped up. It is also important to remember that your Christmas inflatable needs to remain plugged in to stay inflated. Once it is unplugged, it will deflate.
Electricity Requirements
This is a tricky topic to respond accurately to because each inflatable is different. Typically, Xmas inflatables don’t use very much electricity. They usually are in the same power consumption range as a string of Christmas lights.
When conducting my research online, there appears to be a consensus that inflatables should not be plugged in for more than 8 hours straight. Most owners keep their inflatables unplugged during the day anyways as at night you can see the inflatables light up. In today’s age of IoT devices and smart plugs, I recommend purchasing an outdoor-rated smart plug like the Kasa Smart Wi-fi Outdoor plug. I personally have had great success with this device for my display and it allows me to schedule both an “on time” and “off time.” Especially helpful for the forgetful type!

Caring and Cleaning for your Christmas Inflatable
Inevitably your Christmas inflatables will get dirty, but they can be cleaned effortlessly. Use a damp wash rag and wipe down your unplugged decoration. Don’t use industrial chemicals or cleaners because they could damage the material, reducing the overall life of your Christmas inflatable. Instead, clean and dry your Christmas inflatable before you put it away for storage. Small tears or holes in your inflatable are easily repaired by sewing them shut with a needle and thread.
Larger holes can be easily patched up with a piece of clear packing tape or duct tape. It’s best to use tape while the inflatable is full of air to avoid pinching material and causing stress points around the tape.
Setting up Multiple Christmas Inflatables
Without a doubt, you will most likely have more than one Christmas inflatable. A great tip is to create a rough drawing or blueprint of where everything will go. You’ll need to ensure that each inflatable has enough room to inflate without touching another inflatable or obstruction. Next, measure each inflatable and measure out your yard to ensure everything fits. Make adjustments to your design if necessary. Planning where everything will be placed will make the setup much faster, saving you time.
Christmas inflatables are a fun way to welcome the holidays. They are festive, fun, and gorgeous to look at. People love seeing a larger-than-life Rudolph, Grinch, or Angel.
These steps are guaranteed to save you time and money since you’ll know how to set it up correctly and take care of your inflatable, ensuring that it will last for years.
Did I miss anything?
Now I’d like to hear from you! Do you have an idea of Christmas inflatables I didn’t cover here? Do you have any Xmas lessons learned you would like to share? Be sure to provide us with your comments below right now!


